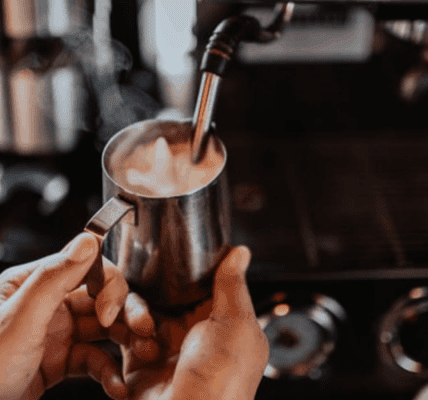
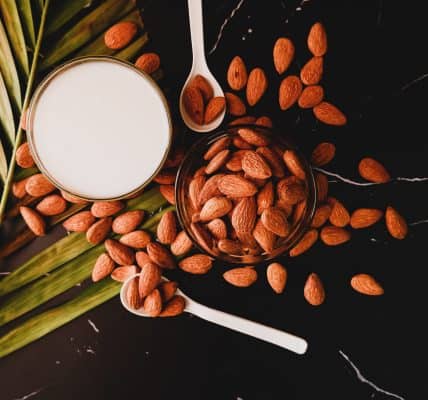
Since the invention of the coffee maker machines, people have been frothing their milk at home. With costs on a steep increase and dairy farmers protesting over the price of milk, there is no better time than now to start frothing your soy, almond, or rice milk as well as your traditional cow’s milk.
How do you get started?
Table of Contents
Thankfully, getting started with frothed milk is much simpler than it might initially seem, and it only involves using two items: an electric whisk and coffee creamer.

Coffee creamers are readily available in supermarkets worldwide. Still, they can be expensive if you’re buying them every day or even more so if you buy the caramel or hazelnut flavored creamers. For a cheap and easy alternative, head on down to your local supermarket, pick up some heavy whipping cream and follow these simple instructions for how to froth coffee creamer.
How do you Froth Milk?
Frothing milk is what makes a latte more than just hot milk with some espresso shots added. This process involves aerating the milk by taking the air out of it. The best way to explain this is through an experiment:
1) Sit an open can of Coke in the fridge overnight and
2) Come back in the morning and listen carefully – you should be able to hear gurgling sounds coming from the can. This is the gas being taken out of the liquid, and that’s what you want to do with milk to make it frothy.
There are several ways to take the air out of milk, such as transferring from a high zone into a low zone, whisking vigorously, or using a steam wand on an espresso machine. Still, these methods are difficult and not feasible for making coffee creamer at home. The method to use involves putting heavy cream into a mixing bowl, adding some sugar (optional), followed by beating it until you have foam (about 2-3 minutes). You’ll know when you have foam because when you stop, your mixer/whisk looks like thi.
How Much Heavy Cream For 1 Coffee Creamer?
The amount of heavy cream you need to make a coffee creamer depends on how much coffee creamer you’re trying to make. It’s best to start with about 3 tablespoons for every cup of milk that you want to froth as a good ratio and then alter the ratios from there depending on whether or not your first attempt was successful (too much foam? too, much liquid?). Remember, it’s always easier to add more cream than thin something out. Err on the side of caution when making your first few attempts.
How To Froth Coffee Creamer Using an Electric Whisk
1) Pour the required amount of heavy whipping cream into a bowl
2) Add sugar if desired
3) Turn whisk onto highest setting until bubbles start to form
5) Froth using a back and forth motion – don’t whisk too quickly as it will not be as effective
6) Once you have formed foam with the consistency that you like, pour in your coffee creamer immediately and mix until combined.
7) Pour into desired container/s, top with chocolate sauce if desired, and serve.
Alternative Methods For How To Froth Coffee Creamer Using a Blender or Food Processor
If you’re looking for a quick way to froth milk at home without having to purchase an electric whisk, then look no further than your blender or food processor. A blender is perfect, especially if you plan on making lots of coffee creamer. An individual blender can only make one cup of coffee creamer at a time.
1) Pour the required amount of heavy whipping cream into your blender
2) Add sugar if desired
3) Put on a tight lid and turn to a high setting until froth is formed
4) Froth using back and forth motion – don’t whisk too quickly as it will not be as effective
5) Once you have formed foam with the consistency that you like, pour in your coffee creamer immediately and mix until combined.
6) Pour into desired container/s, top with chocolate sauce if desired, and serve.
How To Make Coffee Creamer Using an Aerolatte Machine
An Aerolatte machine is one of the best ways to create homemade coffee creamer because it’s portable and easy to use, but it does have its downsides. For example, it can only froth milk to a certain extent before you need to add more liquid (milk/heavy cream). You also risk the chance of burning yourself should you not hold the aerolatte wand over your mug and accidentally touch metal.
How To Froth Milk With an Aerolatte Machine
1) Pour the required amount of heavy whipping cream into a bowl
2) Add sugar if desired
3) Turn aerolatte machine on
4) Keep the device close to the surface (about 6-8 inches away from the surface of the liquid)
5) Move the aerolatte machine in a back and forth motion – don’t hold it in one spot too long as the milk will not froth
6) Once you have formed foam with the consistency that you like, pour in your coffee creamer immediately and mix until combined.
7) Pour into desired container/s, top with chocolate sauce if desired, and serve
An aerolatte machine is great for entertaining guests or creating large batches of coffee creamer. Still, it’s not quite as user-friendly compared to an electric whisk or blender, as some safety precautions should be considered.
Conclusion
It’s important to note that all these methods work best when using unfiltered heavy whipping cream (the kind without stabilizers). The lower fat varieties of heavy whipping cream create thicker foam. Although it is much harder to achieve a homemade frothed coffee creamer using such options. It’s also important to use a shallow bowl/container when attempting to create your coffee creamer froth as the liquid will expand and overflow otherwise.
The electric whisk is the preferred milk frother method you can use at home as it’s quick to use and quite easy to clean afterward. When using an electrical mixer or kitchen whisk, it’s important to note that certain safety precautions should be considered. Make sure your bowl is shallow enough so that when you froth the cream, it doesn’t overflow. And make sure you watch out for a hot liquid surge when pouring in your coffee creamer. And lastly, make sure to use a LOW setting when frothing with an electrical whisk. This will prevent burning due to the friction created by the appliance.
In conclusion, cautions aside, there are many options available when looking for how to create homemade coffee creamer recipes from scratch; all that is left is for you to put these strategies into practice and experiment with different flavor combinations.